Products
About Us
Support

Ever caught your fuzzy overlord sharpening their royal claws on your sofa? Yep, they're just doing their cat-thing. But hey, what if they had their own throne to scratch on? Enter the DIY cat scratching post – it’s paw-some and perfectly customizable!
Why Do Cats Go Scratchy-Scratch?
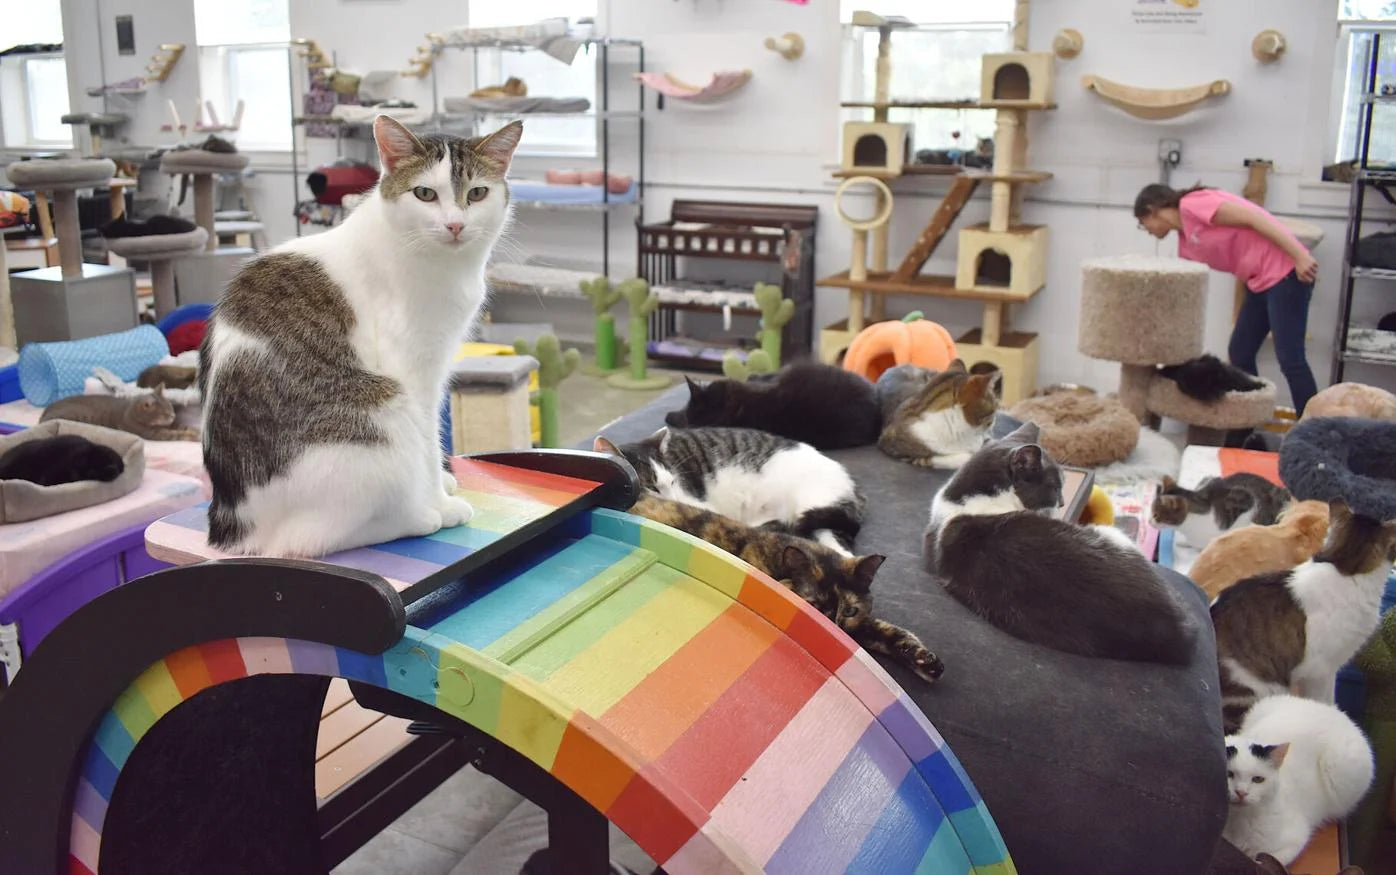
Your indoor explorer or outdoor adventurer loves to get their claws out for a bit of exercise, to mark their kingdom, or to just simply let off some kitty steam. Plus, while we love our couches intact, cats need a proper place to stretch and maintain those kitty manicures.

Why DIY?
Why buy when you can DIY? Get all crafty and customize! It's easy on the wallet and ensures your feline friend doesn’t come in contact with any shady stuff.
The Cat-tastic Materials & Tools!
Materials:
Tools:
Picking The Claw-some Spot
Location, location, location! Place it by their royal bed (post-nap stretches!), the living room, near their previously "claimed" furniture, or by the window for a sun-soaked scratch session.
DIY Magic Steps:

Getting Kitty Onboard
Present the new throne to your furball. Use toys, lasers, or the irresistible catnip to guide them. It's their new kingdom corner!
Keep It Pawsome!
With all that scratching, your tower might need a touch-up. Tighten, re-wrap, and vacuum for the purrfect upkeep.
To Wrap It Up!
Voila! Your DIY scratching post isn't just a project; it's a labor of love! Your cat will adore it, roll over it, and of course, scratch the daylights out of it. Revel in the joy of seeing your fur-baby enjoy their very own scratch palace! Happy crafting and happier scratching!